Tools: Overlay Tool
![]()
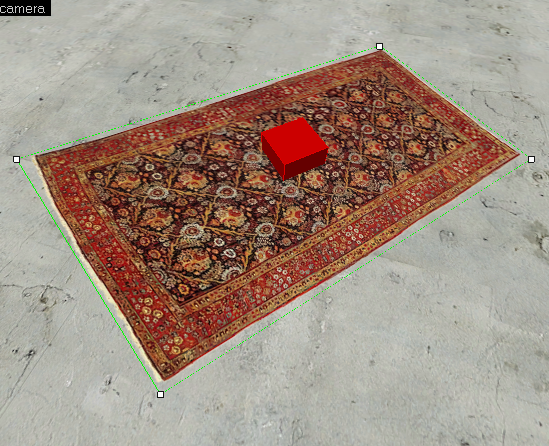
The Overlay tool is used to place overlay objects onto brush or displacement surfaces. An overlay is a material that can be placed on top of another texture, combining the two. Overlays are similar to Decals but have additional properties that control how they are applied to surfaces. Also, unlike decals, overlays can be transformed with the Selection Tool, so they can be rotated and scaled.
To place an Overlay:
- Selection the Overlay Tool as the active tool.
- Click Browse on the Texture toolbar and pick a material for the overlay from the Texture Browser.
- Turn on 3D Texture Polygons mode, so you can see the texture you are placing the decal upon.
- Create the overlay by clicking in the 3D View on the surface you wish to add the overlay onto.
- After the overlay is created, the four corner handles can be dragged to change the shape of the overlay.
- To rotate or scale the overlay, switch to the Selection Tool and transform it in one of the 2D Views.
Note: The Overlay Tool must be selected to be able to edit the corner handles on an overlay.
When an overlay is placed, it creates an info_overlay entity. The Object Properties dialog for info_overlay has additional parameters that can be changed, including the material that is used.
